I have not posted my weekly spreads in a few months. Why? Because I don't do weekly in the summer. On top of everything else I have going on, we cram in tons of FUN FUN FUN and I want to capture a snapshot of everything (but then where would I find time to keep up with PL?!) I would have to use a whole album just for the summer if I did full spreads during this busy time. Instead, I capture ONE image or make ONE collage image per activity/event/moment I want to remember, edit in Instagram, and print in a Polaroid style photo. I label each pic and then lay them all out over several pages. This way, I spend minimal time editing and embellishing during a time when I know I will fall behind and get discouraged. Plus I love that the summer part of my album stands out in this way, just like summer stands out from the rest of the year! This year it took 6 pages! Take a look :)
The cards I used came from various summer themed sets, except the one that says "Vacation," I cut from some ombre paper I had and used some thin alpha.
I really love how the summer Instagram photos turned out for this year. I can't wait until next summer already!
My life as a happy and crafty, frugal yet fun, wife and mom of two. I seriously don't know what I am doing, but I'm having fun doing it.
Showing posts with label 2014 Project Life. Show all posts
Friday, September 19, 2014
Wednesday, June 11, 2014
2014 Project Life {WEEK 23 + Art}
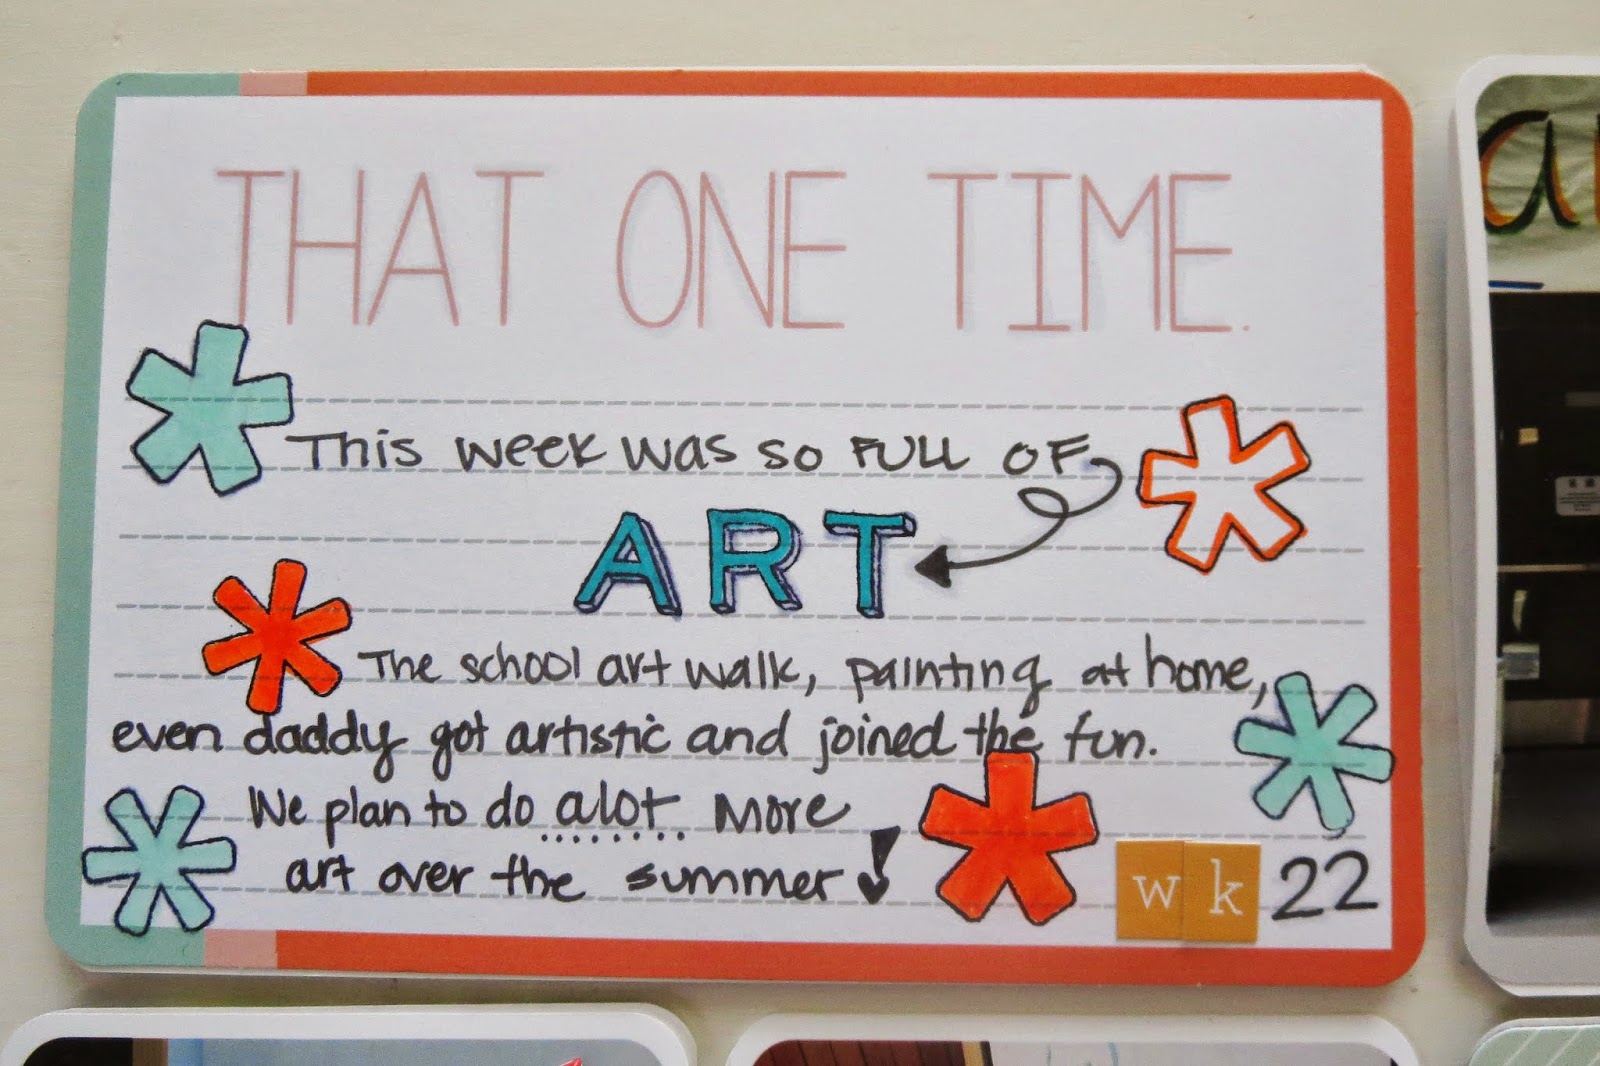
This week was all about Art. The school had the annual art walk this week, and the girls were all interested in doing as much art as possible! I decided to use only photos that had to do with art/school this week, since nothing else extraordinary happened and I like the cohesive Art theme that was happening all week anyway.
I used asterisk stamps, colored them in with copic markers, and used my Studio Calico asterisks from a previous monthly kit and some wood veneer asterisks from SC as well. I think using a variety of similar embellishments made this page fun and even more cohesive! PS I LOVE STUDIO CALICO, have I mentioned that before? You get a fun stamp set, embellishments, usually an alpha and around 30 unique exclusive PL cards every month for just $20 plus shipping. Its one of the best deals around and the sets are beautiful and unique and make any layout look professional!!
2014 Project Life {WEEK 21 + Camping}
I decided to use the camping trip photos as the only photos for week 21, since this was the highlight of the week anyways. Rather than use camping themed cards, I decided to use green cards and washi to pull this layout together!
You can find my YouTube Tutorial HERE on how to create collage prints (how to put more than one photo together and print as a 4x6" photo).
Tuesday, May 20, 2014
Project Life Organization Tips {Ikea's Raskog Cart + SC Boxes}
I wanted to share how I use the Ikea Raskog Cart in my craft space. I wanted to fit the cart under my ikea desk, so I removed the wheels and added foam pads to protect my wood floor, and it glides easily from under my desk when I need to use it.

The top compartment has an Antonius divider and holds my current monthly kit items, which right now include Studio Calico, Gossamer Blue, and Take Ten. I have one spot for alpha and large embellishments, one for 4x6" cards, one for 3x4" cards, one for medium embellishments and one for small embellishments. Eventually, unused items will get stored in my larger storage system when I am done using the monthly kit and just have remnants leftover.
The second compartment holds my Studio Calico monthly kit boxes with additional embellishment storage. I use a small divider system for items where I have a small amount of each embellishment, or I want them separated very neatly by type and material. However items like enamel ephemera bits, labels, and overflow of PL themed cards need larger storage, so I store them in these kit boxes upright. I use washi tape as the box label because its easily removable if I need to change the label later.

Enamel (Notice how even though these are stored upright, everything stays how it should when I lay it down and open it. The plastic bags are melted beads, and they stay just like that when stored!)
The very bottom shelf is random right now. Whatever I need to put there I just put there. Maybe in the future I will designate a specific use for it. :)
The top compartment has an Antonius divider and holds my current monthly kit items, which right now include Studio Calico, Gossamer Blue, and Take Ten. I have one spot for alpha and large embellishments, one for 4x6" cards, one for 3x4" cards, one for medium embellishments and one for small embellishments. Eventually, unused items will get stored in my larger storage system when I am done using the monthly kit and just have remnants leftover.
Enamel (Notice how even though these are stored upright, everything stays how it should when I lay it down and open it. The plastic bags are melted beads, and they stay just like that when stored!)
The very bottom shelf is random right now. Whatever I need to put there I just put there. Maybe in the future I will designate a specific use for it. :)
2014 Project Life {WEEK 21 + Mother's Day}
Week 21 was all about exploring the Pacific Science center, riding bikes, and Mother's Day. THINGS I LOVE: Pacific Science Center membership, Studio Calico's monthly PL kit, and Write Now Journals.
I recently found a great Mother's Day idea that I put to use this year. I bought myself a beautiful journal, and asked my family to write in it each year for all occasions (Mother's Day, Valentines Day, Birthdays, our Anniversary, any holiday!) I wanted to choose my own journal, one because I am picky, and two because there is a particular brand of journals I use which I order from Amazon and my husband is not very big on the whole online ordering thing. I am so glad I started this!! What they wrote in the journal was so much more amazing and deep than the quick writings on some randomly purchased card (not that cards aren't also cute and meaningful). Tory pressed Ashlyn's (who is only 2) hand-prints into the journal as well (until she can write messages herself she can paint and draw etc in my journal). Tory liked this idea so much he asked for a Father's journal! So I picked up this one for him.

Alpha outline stamps, shaded in with a "Jade Green" copic marker. Asterisk stickers from Studio Calico's May PL kit. I REALLY like Studio Calico's kits!

Took this very amazing shot of a butterfly at Seattle's Pacific Science Center's butterfly exhibit reaching out and sensing Ashlyn's tiny finger. I am quite surprised at some of the clear and beautiful shots I can get out of my $99 Canon 330HS. The white rub-on alphas are perfect and from from Studio Calico's May PL kit.
I decided to make Mother's Day a separate insert. I try to make holidays and special days pop from the weekly layout by adding an insert.
I recently found a great Mother's Day idea that I put to use this year. I bought myself a beautiful journal, and asked my family to write in it each year for all occasions (Mother's Day, Valentines Day, Birthdays, our Anniversary, any holiday!) I wanted to choose my own journal, one because I am picky, and two because there is a particular brand of journals I use which I order from Amazon and my husband is not very big on the whole online ordering thing. I am so glad I started this!! What they wrote in the journal was so much more amazing and deep than the quick writings on some randomly purchased card (not that cards aren't also cute and meaningful). Tory pressed Ashlyn's (who is only 2) hand-prints into the journal as well (until she can write messages herself she can paint and draw etc in my journal). Tory liked this idea so much he asked for a Father's journal! So I picked up this one for him.
Alpha outline stamps, shaded in with a "Jade Green" copic marker. Asterisk stickers from Studio Calico's May PL kit. I REALLY like Studio Calico's kits!
Took this very amazing shot of a butterfly at Seattle's Pacific Science Center's butterfly exhibit reaching out and sensing Ashlyn's tiny finger. I am quite surprised at some of the clear and beautiful shots I can get out of my $99 Canon 330HS. The white rub-on alphas are perfect and from from Studio Calico's May PL kit.
I decided to make Mother's Day a separate insert. I try to make holidays and special days pop from the weekly layout by adding an insert.
Friday, May 9, 2014
2014 Project Life {Weeks 18-19}
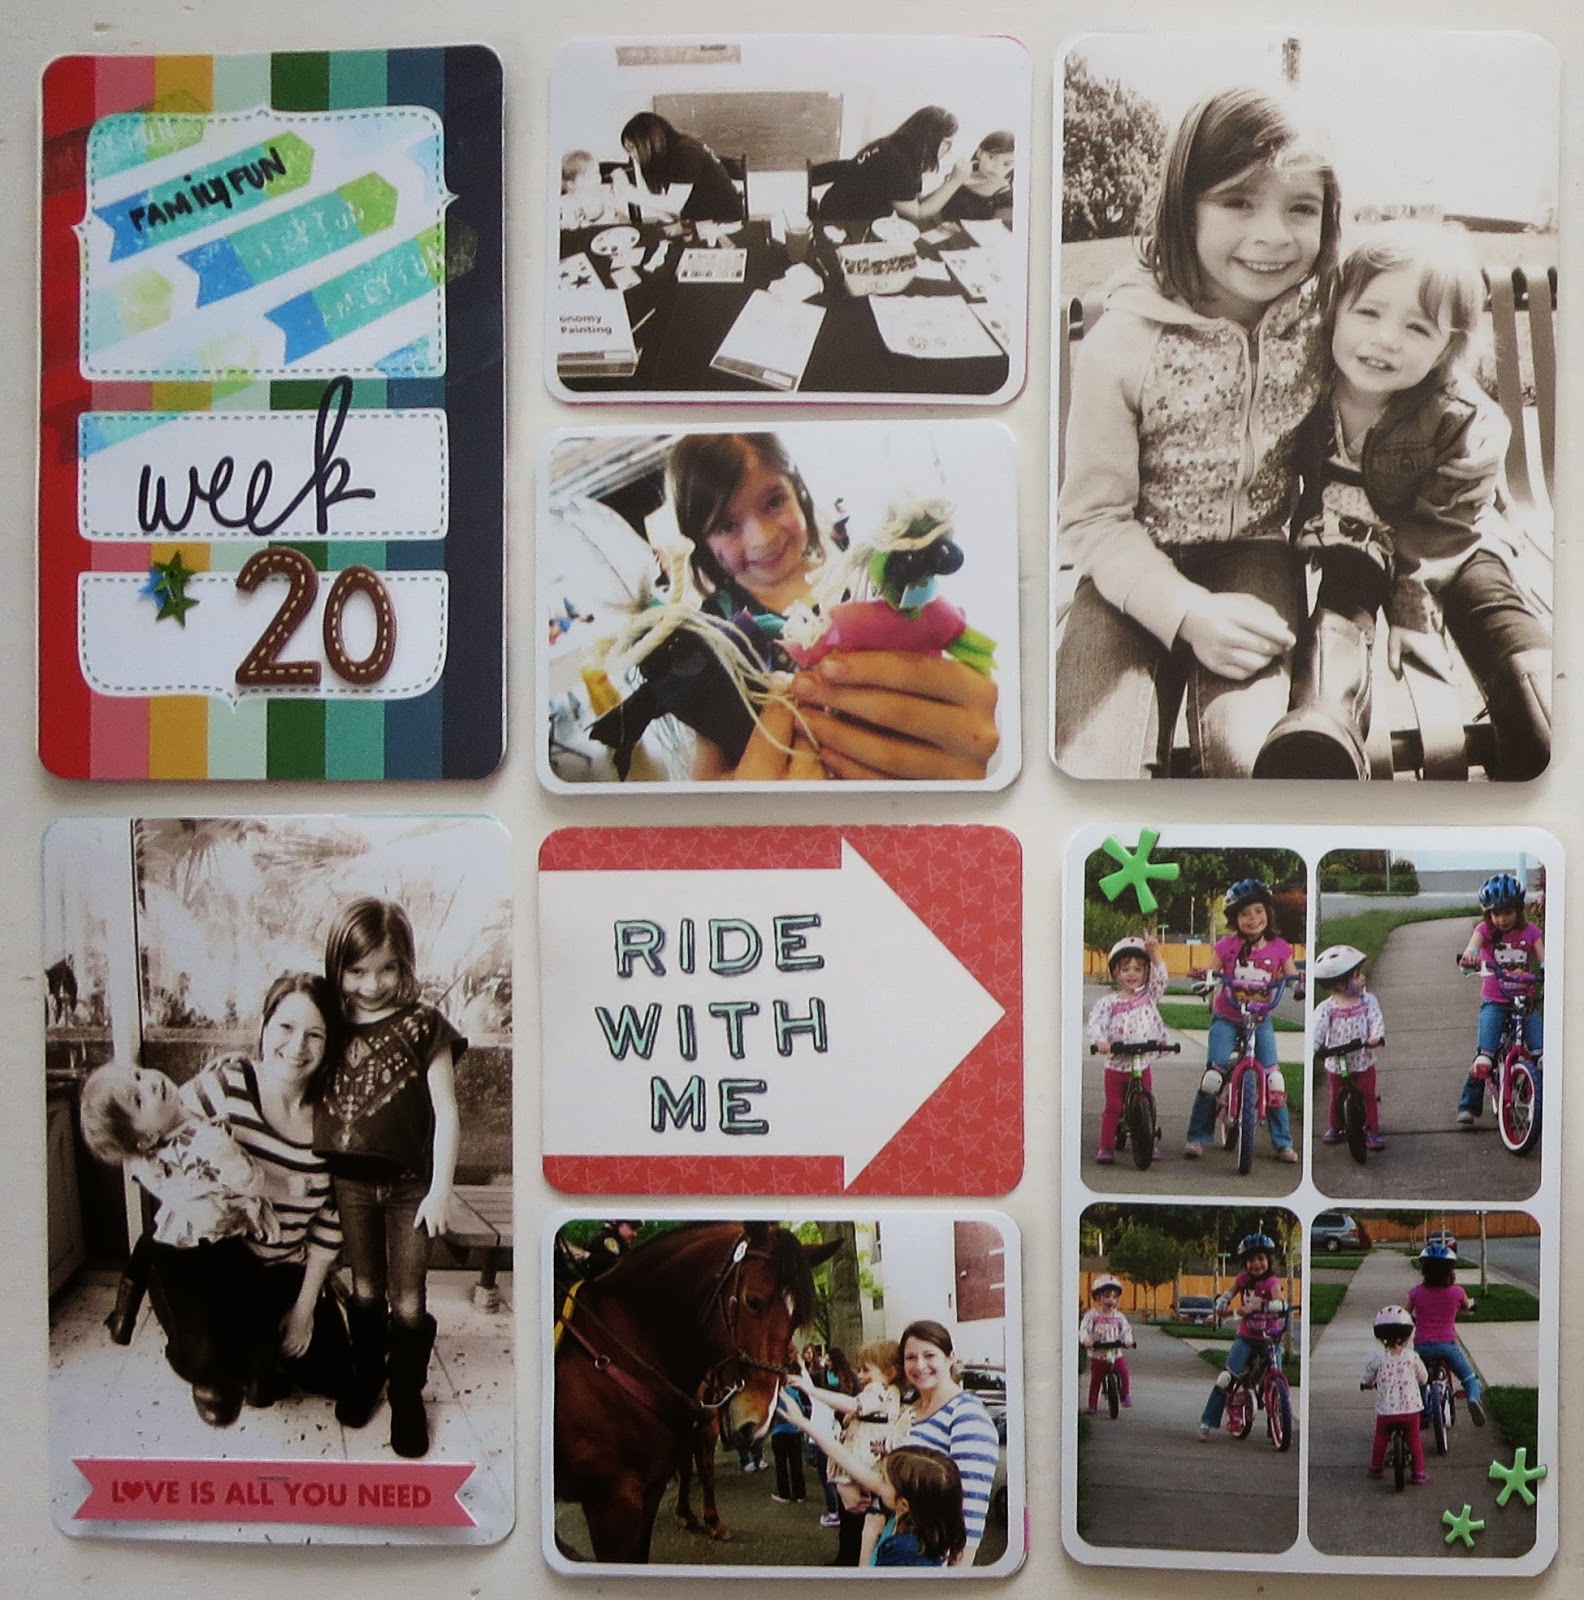
I really wanted to share weeks 18-19 because I used a few fun techniques that I thought my readers would like to know about. First, I started and ended my 2 page spread with one saying that flowed between both pages. Second, I used washi tape between the 4 center photos to pull the spread together. And third, I used photoshop to make just the orange headband on Ashlyn's head pop from the black and white photo (which I love because the orange looks really nice with the colors of this layout).
These two weeks were all about April changing into May, the rain bringing us some nice plush greenery to garden in, spending lots of time in the sun when its out (we are in Seattle so we dont get too many nice days this time of year), and having fun.
The highlight of the week for me, however, was the new family vehicle we finally bought after 2 years of budgeting and saving and carefully deciding what we need as a growing family (well, potentially growing someday if I have my way). Tory and I have been sharing ONE car, one small economy stick shift car, between the two of us, for the last 8 years. It worked ok when we had one child, but with two children and ambitions of travel and play dates and adventure, it just wasn't big enough anymore. Our new vehicle is a 2013 Dodge Journey with seating for 7 and truck and storage space galore. I couldn't be happier!

I used a cool stamp set of outline alpha to make the "showers" and "flowers" and thought this saying was perfect for the april/may split these two weeks and perfect for the outdoor fun that began with our first sun break of the season!

Closeup to show the orange label I put on a black and white photo, and stamped with one of my Foodie stamps. It works nicely with the next photo that also has an orange pop of color!
These two weeks were all about April changing into May, the rain bringing us some nice plush greenery to garden in, spending lots of time in the sun when its out (we are in Seattle so we dont get too many nice days this time of year), and having fun.
The highlight of the week for me, however, was the new family vehicle we finally bought after 2 years of budgeting and saving and carefully deciding what we need as a growing family (well, potentially growing someday if I have my way). Tory and I have been sharing ONE car, one small economy stick shift car, between the two of us, for the last 8 years. It worked ok when we had one child, but with two children and ambitions of travel and play dates and adventure, it just wasn't big enough anymore. Our new vehicle is a 2013 Dodge Journey with seating for 7 and truck and storage space galore. I couldn't be happier!

I used a cool stamp set of outline alpha to make the "showers" and "flowers" and thought this saying was perfect for the april/may split these two weeks and perfect for the outdoor fun that began with our first sun break of the season!

Closeup to show the orange label I put on a black and white photo, and stamped with one of my Foodie stamps. It works nicely with the next photo that also has an orange pop of color!
2014 Project Life {Birthday & Travel} + Traditional Layouts
Here are some examples of how I mixed pocket scrapbooking with traditional 12x12 layouts. I like to use 12x12 layouts when I have memorabilia I want to incorporate but don't want it to be lost in a pocket.
Tuesday, April 15, 2014
2014 Project Life {Birthday spread}
I did a 2 page spread to highlight my birthday fun because my birthday is always a big thing around here. Its one of the days/weekends that actually is all about me; not about taking care of the kids or the chores or anything else other than just finding some happiness!

This spread was inspired by one red card that said "All about me." This card was part of the April Studio Calico add-on kit "Tobasco," which I had to have because of this card and some of the cute embellys! Since I could not figure out how I wanted to place the card, I decided to punch a 2" circle around the words and to layer it over an image. I then used the scraps from the punched card to keep the exact color red throughout the layout, contrasting it with blues (I have a lot of blue cards, since its my favorite color!)

I used the red scraps to make small flags and 1" circles. I stamped in black Stayz-on ink with some fun stamps from the new Simple Stories DIY stamp sets.
I also used some cute puffy asterisks, an Amanda Rose "hubbie" stamp, a Red "EEK" flair button from the April SC PL kit (which was perfect since it was both red and pretty much explained the emotion everyone at the table felt when I started playing with the crab legs, HAHA!), and red and blue alphas from Simple Stories and Thickers. All the cards I used were from my stash :)
This spread was inspired by one red card that said "All about me." This card was part of the April Studio Calico add-on kit "Tobasco," which I had to have because of this card and some of the cute embellys! Since I could not figure out how I wanted to place the card, I decided to punch a 2" circle around the words and to layer it over an image. I then used the scraps from the punched card to keep the exact color red throughout the layout, contrasting it with blues (I have a lot of blue cards, since its my favorite color!)
I used the red scraps to make small flags and 1" circles. I stamped in black Stayz-on ink with some fun stamps from the new Simple Stories DIY stamp sets.
I also used some cute puffy asterisks, an Amanda Rose "hubbie" stamp, a Red "EEK" flair button from the April SC PL kit (which was perfect since it was both red and pretty much explained the emotion everyone at the table felt when I started playing with the crab legs, HAHA!), and red and blue alphas from Simple Stories and Thickers. All the cards I used were from my stash :)
Thursday, April 10, 2014
2014 Project Life {WEEK 14} + Zulily
Week 14 was all about the girls. I used more of my Take Ten Kit and a fun technique tuesday geotag stamp, as well as some perler bead enamel dots. This week my daughter cut her own hair so I made a point of including it as one of the "OMG" moments of the week. The highlight of the week was the girls photoshoot with Zulily. It was so fun! If you haven't heard of Zulily, its a really amazing website that offers huge discounts on designer and boutique clothing and goods for children and adults. You can find deals on popular brands like Toms if you check often, because everyday they add thousands of items. I love their clothes and was so super excited to get my girls in for a photoshoot there. You can see my daughters on the site this week :)
Subscribe to:
Posts (Atom)