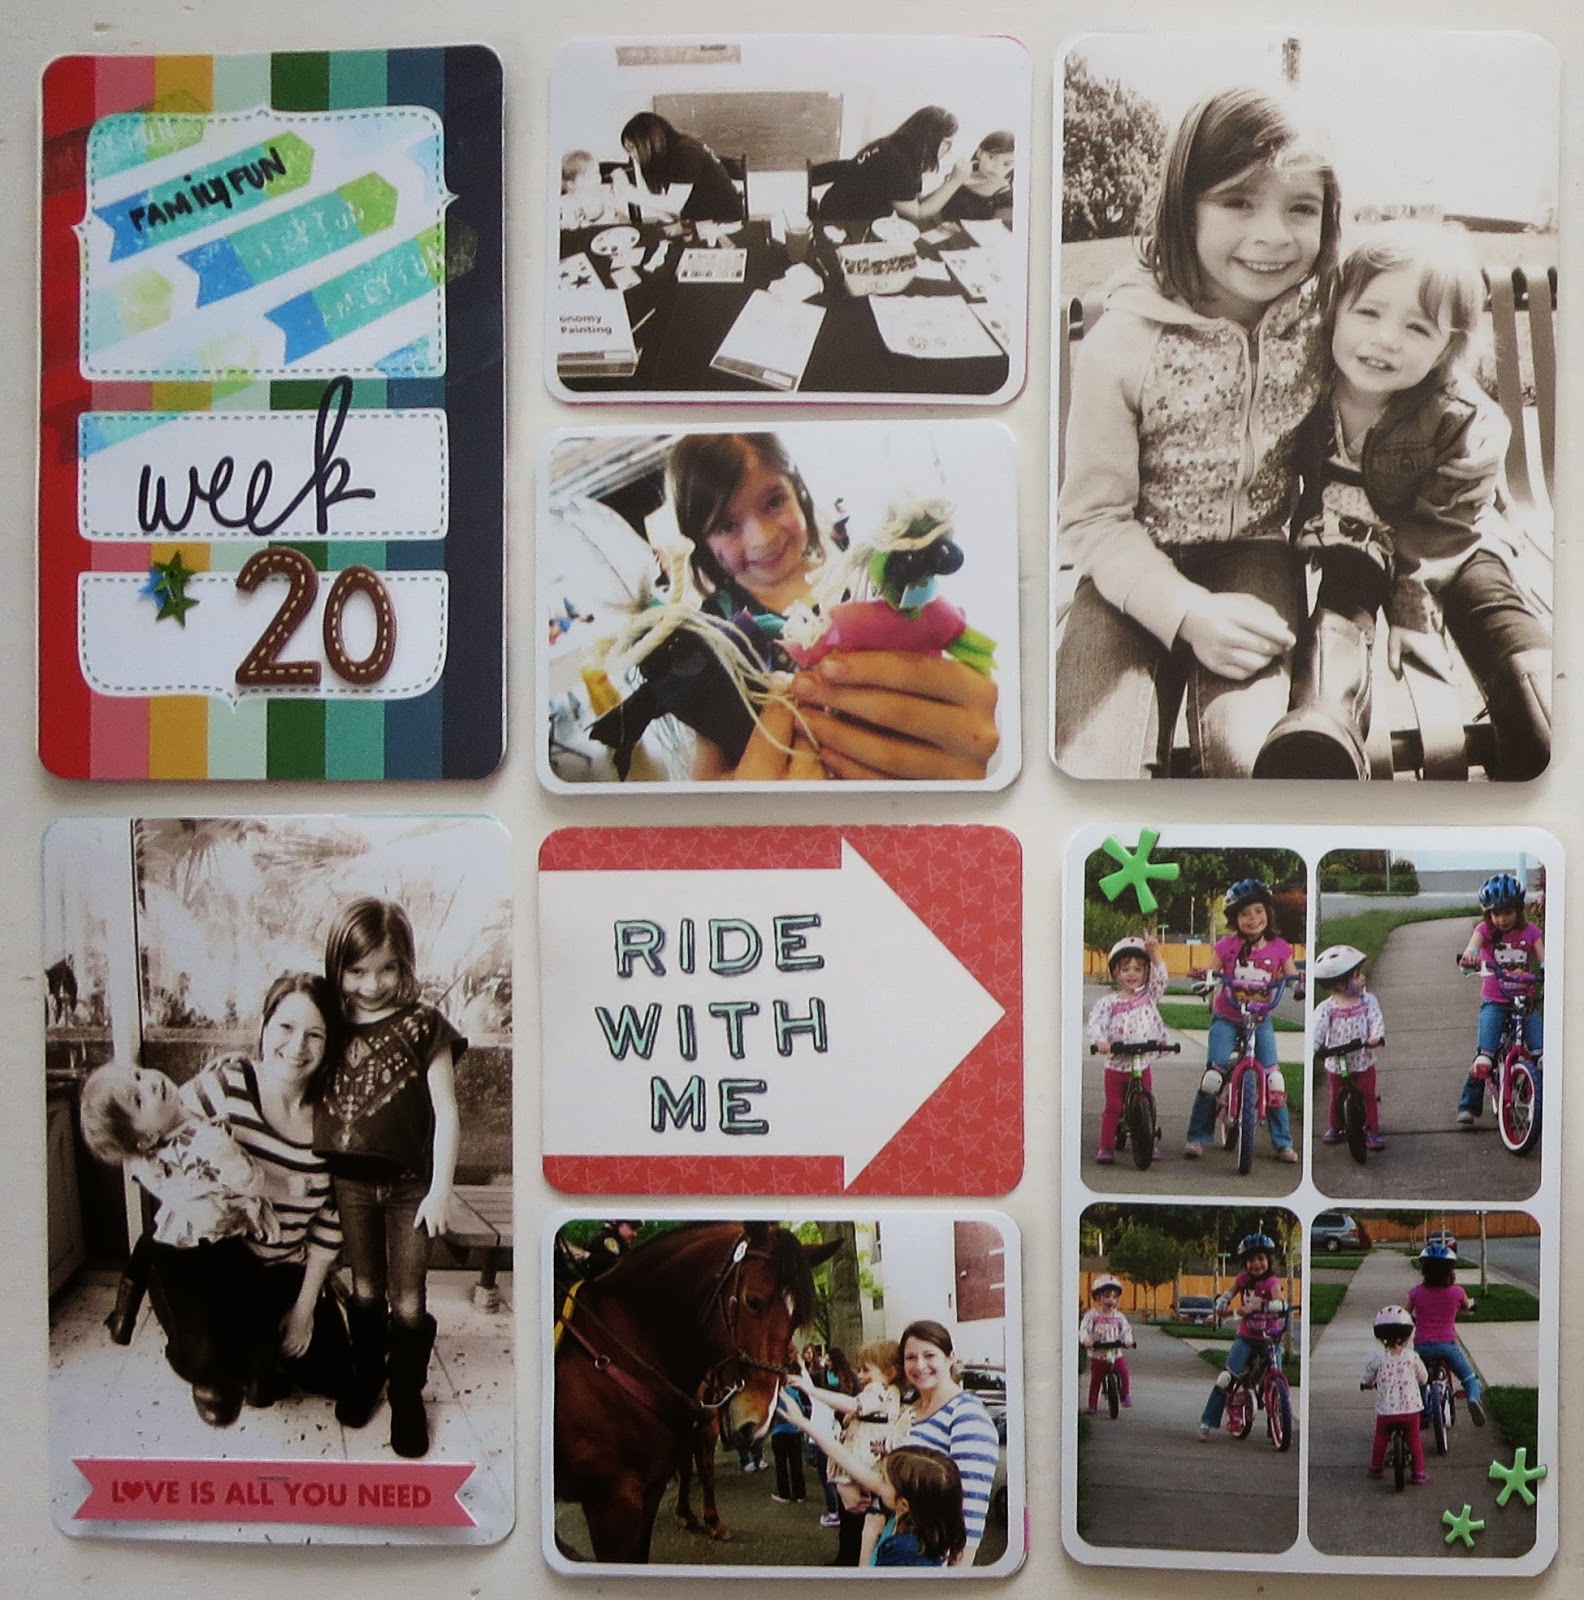
Wednesday, June 11, 2014

2014 Project Life {WEEK 23 + Art}

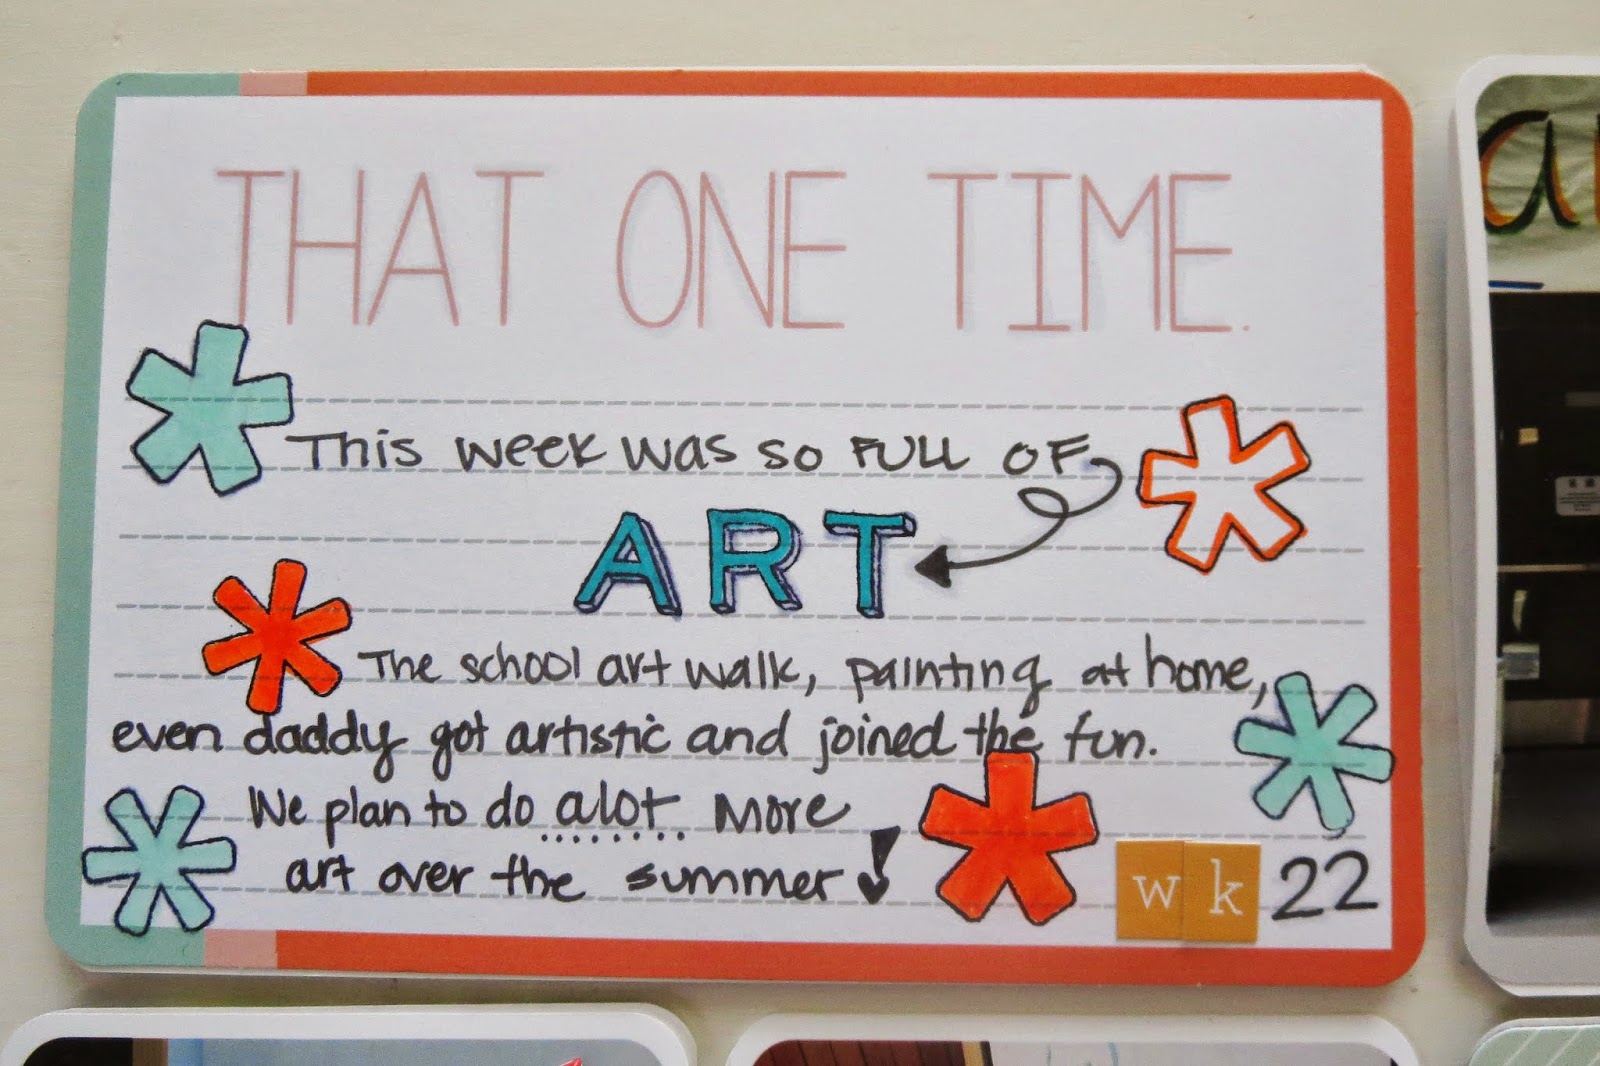
This week was all about Art. The school had the annual art walk this week, and the girls were all interested in doing as much art as possible! I decided to use only photos that had to do with art/school this week, since nothing else extraordinary happened and I like the cohesive Art theme that was happening all week anyway.


I used asterisk stamps, colored them in with copic markers, and used my Studio Calico asterisks from a previous monthly kit and some wood veneer asterisks from SC as well. I think using a variety of similar embellishments made this page fun and even more cohesive! PS I LOVE STUDIO CALICO, have I mentioned that before? You get a fun stamp set, embellishments, usually an alpha and around 30 unique exclusive PL cards every month for just $20 plus shipping. Its one of the best deals around and the sets are beautiful and unique and make any layout look professional!!

2014 Project Life {WEEK 21 + Camping}

I decided to use the camping trip photos as the only photos for week 21, since this was the highlight of the week anyways. Rather than use camping themed cards, I decided to use green cards and washi to pull this layout together!

You can find my YouTube Tutorial HERE on how to create collage prints (how to put more than one photo together and print as a 4x6" photo).


{WEEK 21}


I used washi tape to draw the eye to certain photos that were related.

Tuesday, June 10, 2014

DIY backyard CARNIVAL Party {Emily's 8th Birthday}

I love birthdays. I believe they are very important and must be a BIG DEAL. Therefore, every year I try to throw my kids a huge party followed by a whole day of one-on-one time together. This year, Emily requested a Carnival. OH BOY. How am I going to pull THAT off? A combination of borrowed decorations, Oriental Trading Co. supplies, some print outs I made at home, a few volunteers, and a whole lotta prep! Here's the party and some tips to do this yourself!

Here is the setup, with the refreshments, prizes, and cupcakes under the pop up tent, and the 3 games (ring toss, ball toss, and duck hunt) to the left with face painting and the bounce house to the right. I had the party in the park behind my house because my yard is so small it would only fit 1/3 of the bounce house, let alone the party and the 19 children!


The morning of the party I popped 10 bags of popcorn and then divided them into about 20 smaller cute carnival popcorn bags. I bought 4 bags of $1 store cotton candy and divided them into 20 small plastic bags and tied them off with red twine. And I served capri suns.


The day before the party I made boxed cupcakes as directed, using $1 wrappers I found at the craft store. I made my own frosting using this recipe (which always comes out the perfect thickness for frosting with my tips), and divided it into 2, added yellow and red color, put into 2 bags and then carefully frosted the top of the cupcakes. I added yellow sprinkles on the red cupcakes as well. The whole process took me 2 hours because its only the 2nd time I have made my own frosting and I am still getting the hang of it without making a huge mess!


This bean bag toss was generously lent to me by a close friend (she made this herself!)


For the ring toss I bought a $1 store pack of glow sticks, and attached 2 sticks together making a circle (the rings). I also took wine bottles, filled them about 1/2 way with water, corked them, and wrapped them in duck tape. This took about 30 mins.


The duck hunt is made from a beverage bucket full of water, and several cheap ducks with either WIN or LOSE written on the bottom. These ducks sucked so we had the girls close their eyes and pluck the ducks standing backwards so they couldnt see what they were selecting!


I bought 100 cheap prizes, which gave the kids about 5 each. I decided the way to be fair was to limit each child to 5 no matter how many tickets they earned. I made the bounce house cost 1 ticket per ride for the first half of the carnival so that they kids had to continue to play the carnival games to ride it (they would not be able to stay just at the bounce house all day) and it gave them something to spend their excess tickets on after they bought their 5 prizes. Face painting was 1 ticket. Balloon animals and prizes were 2 tickets each. Each time a game was played a child won 1-3 tickets, so they had to play the game several times to have enough for all 5 prizes, a balloon animal, face painting and rides on the bounce house.

After 2 hours we did the cupcakes and presents. After that, the kids were allowed to bounce for FREE until they were picked up 2 hours later. I purposely had a 4 hour party so the last 2 hours would be free jump time (I might as well get my moneys worth, right?)


My friend is an AMAZING makeup artist. If your in the Seattle area I am happy to share her info for parties!


I also had to share this. Since the party was behind our backyard I had the idea to create a special entrance to the park. I like how it turned out!

The 100 foot banner around the park, the balloon animals, popcorn bags, prizes, and much more can be purchased here.

The overall cost of the party was $300. $200 of which was the bounce house. $100 was for supplies to do all the DIY stuff. You could potentially not rent a bounce house and add a fun game like twister or have a dance station. I hope this has inspired some of you to keep calm and PARTY ON!

Friday, May 30, 2014

Car Organization and Shopping with {MY FAVORITE} Thirty-One Bags

I wanted to share how I use Thirty-One Bags to organize my car. I have these bags for everything these days, and will show other ways I use them soon. Today is all about my car, and grocery shopping. Take a look!


Here is my shopping cart loaded into one "Fresh Market Thermal" bag.


This is the trunk of my small SUV with the third row up (notice its not a very large space). I have a Large Utility Tote to catch my smaller bags and items I take in the house after my errands. I keep this and the Fresh Market Thermal together in the trunk and use them daily. This keeps my car from having junk thrown about, and from spilling groceries (the Large Utility Tote holds paper bags upright or can be used to catch plastic bags and unbagged items as I have done today). Both fit even in a small trunk space!


Here is the 2nd row of seats, where my 2 children usually sit. They each have a Thirty One Beauty Bag being used to store their car fun items, and the diaper caddy (which just stays in the car until I need to refill it) sits between them.


My 8 year olds bag has books, puzzle books, colored pencils, a clip board, and her trinkets.


My 2 year olds bag has coloring books, touch and feel books, a doodle pad, a wooden magnetic puzzle, crayons and a clipboard. They don't strap down at the bottom so they can reach for their bag and pull it towards them to reach everything inside of it.


This Keep it Caddy by Thirty-One is the perfect diaper caddy! Inside I have a Thirty-One large thermal pouch where I keep snacks. Even when its fairly hot the chocolate z-bars don't melt! So its perfect to keep snacks the right temperature while in the car right there in my diaper caddy for easy access. Below are a couple photos of items I keep in my caddy.


Lets look back at the trunk space again. Here it is without any bags. It opens up and there you will find... MORE BAGS!
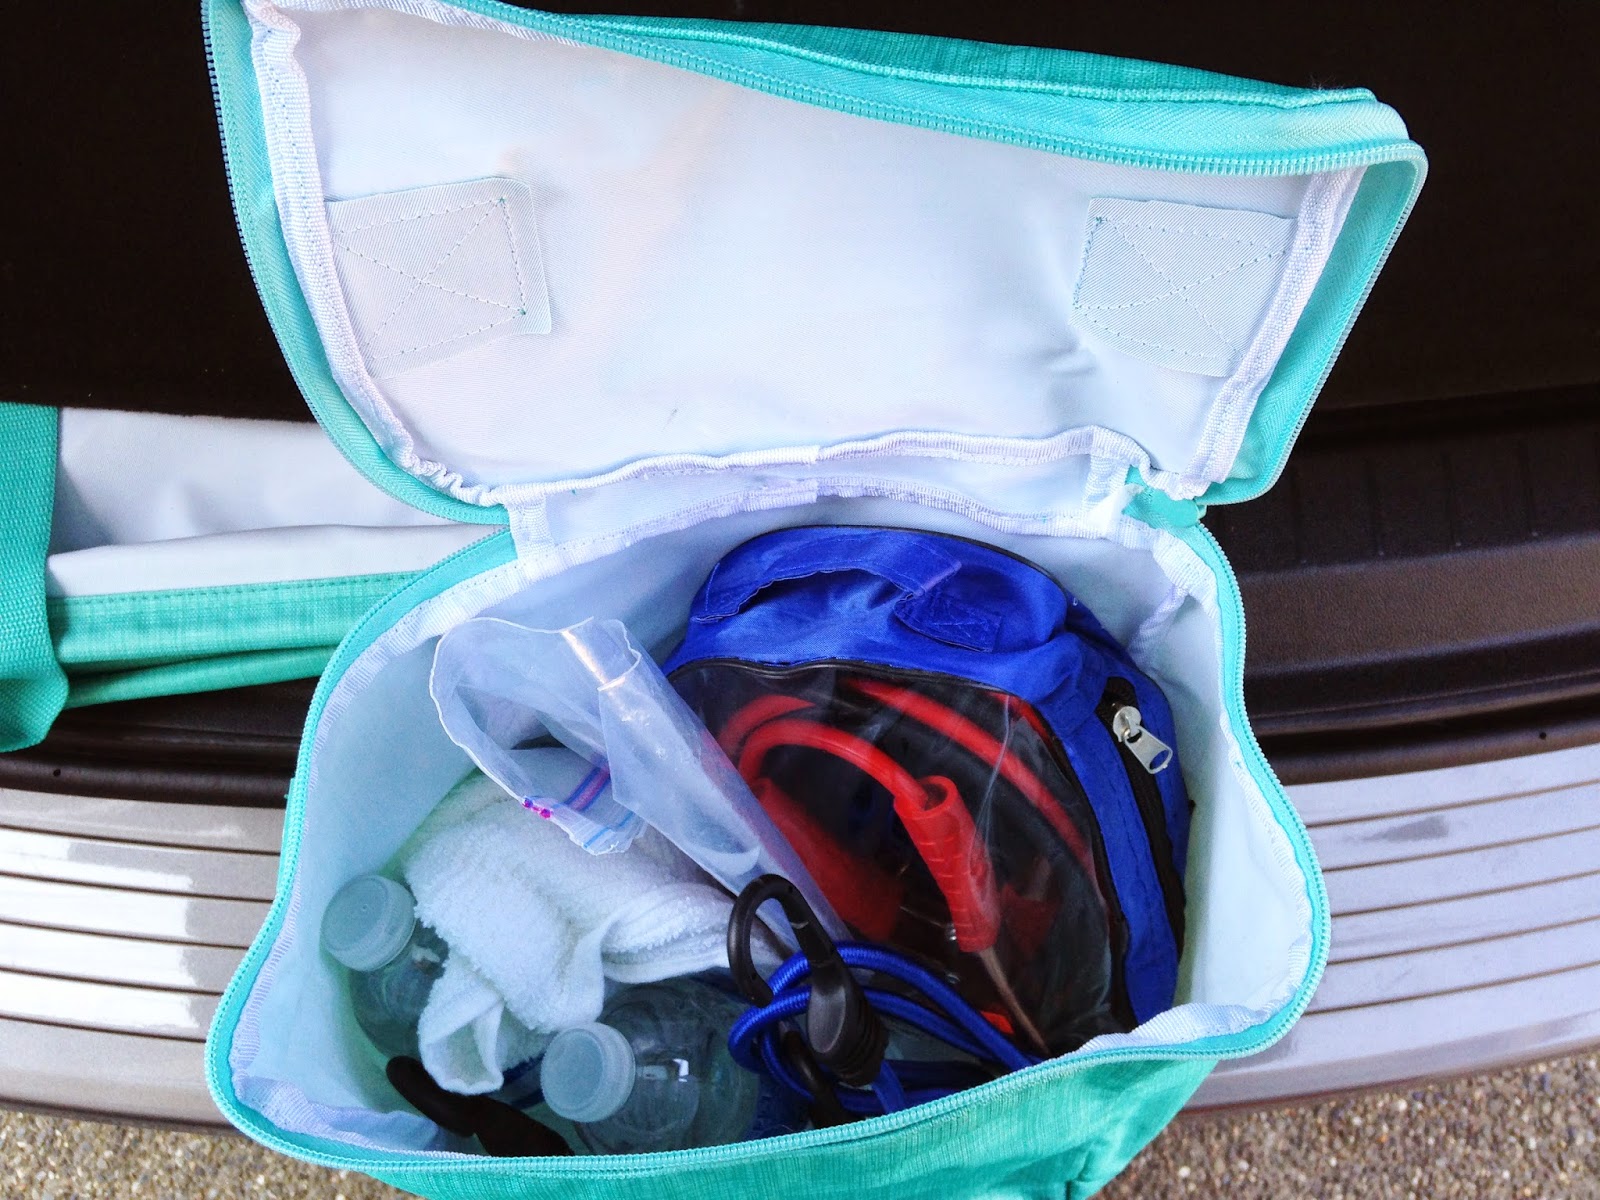

Another Large Utility Tote JUST IN CASE I NEED A HUGE BAG!! Maybe for a costco trip or muddy kids stuff. Did I mention these wash very easily and are thick and durable material?! Well, they are!


Under that flattened bag I keep another utility bag with emergency supplies (jumper cables, bungee cords, towels, and water).


This picture is to prove that my weak muscles and my 5'2" body can in fact carry these HEAVY, fully loaded bags when I need to take the items from the car to the house. The people at the registers can never believe I WANT them to pack that thermal FULL because of how HEAVY it gets. But I am the kind of person who will carry 10 plastic bags dangling off each finger just to avoid the dreaded second trip in the house. I prefer the one easy to carry heavy bag over the 10 very hard to carry heavy bags that break.


Fully loaded, ready to unload! And after 1 hour, the items are ICE COLD. No signs of melting or moisture on the milk containers at all!


Here's what I bought today. It all fit nice and neat, and there was room to spare!


I hope this helps some of you out there see that you CAN organize your car when you have kids and a busy on the go life. I don't sell these bags if you want to shop from my wonderful consultant, just leave a reply below.

Tuesday, May 20, 2014

Project Life Organization Tips {Ikea's Raskog Cart + SC Boxes}

I wanted to share how I use the Ikea Raskog Cart in my craft space. I wanted to fit the cart under my ikea desk, so I removed the wheels and added foam pads to protect my wood floor, and it glides easily from under my desk when I need to use it.


The top compartment has an Antonius divider and holds my current monthly kit items, which right now include Studio Calico, Gossamer Blue, and Take Ten. I have one spot for alpha and large embellishments, one for 4x6" cards, one for 3x4" cards, one for medium embellishments and one for small embellishments. Eventually, unused items will get stored in my larger storage system when I am done using the monthly kit and just have remnants leftover.

The second compartment holds my Studio Calico monthly kit boxes with additional embellishment storage. I use a small divider system for items where I have a small amount of each embellishment, or I want them separated very neatly by type and material. However items like enamel ephemera bits, labels, and overflow of PL themed cards need larger storage, so I store them in these kit boxes upright. I use washi tape as the box label because its easily removable if I need to change the label later.


Labels


Bits


Enamel (Notice how even though these are stored upright, everything stays how it should when I lay it down and open it. The plastic bags are melted beads, and they stay just like that when stored!)

The very bottom shelf is random right now. Whatever I need to put there I just put there. Maybe in the future I will designate a specific use for it. :)

2014 Project Life {WEEK 21 + Mother's Day}

Week 21 was all about exploring the Pacific Science center, riding bikes, and Mother's Day. THINGS I LOVE: Pacific Science Center membership, Studio Calico's monthly PL kit, and Write Now Journals.

I recently found a great Mother's Day idea that I put to use this year. I bought myself a beautiful journal, and asked my family to write in it each year for all occasions (Mother's Day, Valentines Day, Birthdays, our Anniversary, any holiday!) I wanted to choose my own journal, one because I am picky, and two because there is a particular brand of journals I use which I order from Amazon and my husband is not very big on the whole online ordering thing. I am so glad I started this!! What they wrote in the journal was so much more amazing and deep than the quick writings on some randomly purchased card (not that cards aren't also cute and meaningful). Tory pressed Ashlyn's (who is only 2) hand-prints into the journal as well (until she can write messages herself she can paint and draw etc in my journal). Tory liked this idea so much he asked for a Father's journal! So I picked up this one for him.


{WEEK 21}


Both cards on this page are from Studio Calico's May PL kit.


Stamping with an ombre stamp pad on the title card, sequins, and Thickers.


Alpha outline stamps, shaded in with a "Jade Green" copic marker. Asterisk stickers from Studio Calico's May PL kit. I REALLY like Studio Calico's kits!


Using enamel and brackets.


Took this very amazing shot of a butterfly at Seattle's Pacific Science Center's butterfly exhibit reaching out and sensing Ashlyn's tiny finger. I am quite surprised at some of the clear and beautiful shots I can get out of my $99 Canon 330HS. The white rub-on alphas are perfect and from from Studio Calico's May PL kit.

I decided to make Mother's Day a separate insert. I try to make holidays and special days pop from the weekly layout by adding an insert.